Bumps In The Road: Fixing A Fingerboard
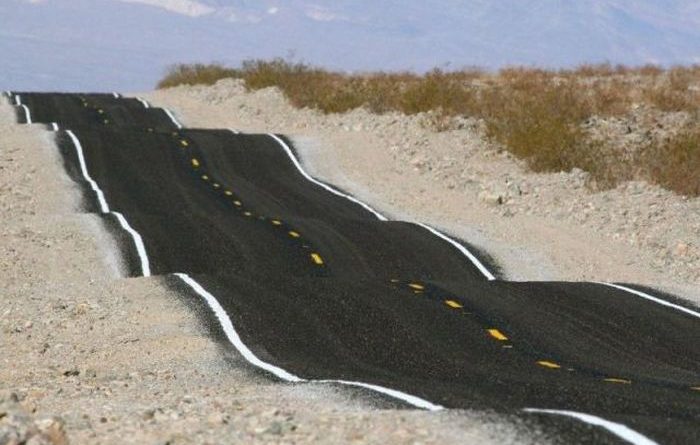
In a previous article “Grading On A Curve: A Look At Fingerboard Radius“, we looked at a bum fingerboard. Frets slots without glue, allowing frets to rise up. Pretty big hump at about the 3rd to 5th fret. Another hump at around 14th fret. Very inconsistent grading on the compound radius. Not even a dead-on radius to match along the entire board. The sort of hot mess that you can avoid by keeping a few measuring tools nearby when checking out a potential purchase.
So, what to do? Suggestions include totally replacing the neck, installing a new fingerboard, and re-radius the board. For the most part, the decision lands on a re-radius. Mainly because it is something I want to learn how to do. Being a compound radius on an existing neck, that’s a challenge. But the idea is to keep it within the realm of an “average joe” solution. With that, take note that this should not be a definitive guide as much as an experiment on my part. In other words, you are on your own if you try this at home. LOL!
As the radius is a bit too shallow for 12° at the first fret, that is the radius size I want. It addresses the correction for lower frets and will leave the lion’s share of the flatter radius at the higher frets.
Moving ahead, it’s not long before another aspect reveals itself. The humps in the fingerboard have the opposite effect of dips right next to them. Meaning that instead of a simple bump, it’s more like a roller coaster. This means taking it down just a bit more to level that out. This is where you might ask how I let this one slip prior to the purchase. Yeah, it’s embarrassing. But if it helps, I’ve since come to know several people that have also gotten guitars from this same shop. Their guitars (and even a bass) have similar issues.
There is also a slightly gnarly falloff on both ends of the board. That can be cool to integrate a waterfall at the higher frets without the extra fret filing. But uncool for the first fret. It’s almost as if they buy fingerboard blanks and don’t plane them down to a flat surface.
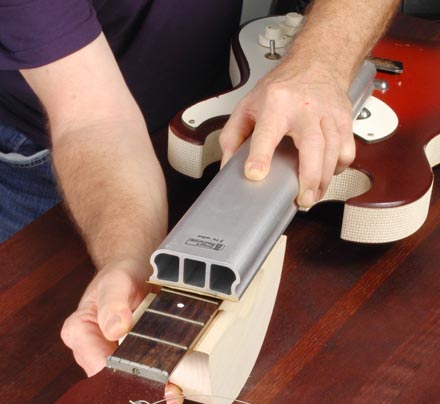
Now that the fingerboard is level with a new radius, there is a check of the fret slots to make certain they are still deep enough. Everything looks good and the slots get glue as the new frets go in. For this guitar, I go with the Jescar “jumbo” size in stainless steel. Whoa there, big spender. Not really. Only $4 more than the same quantity of regular nickel-silver fret wire… and much more durable.
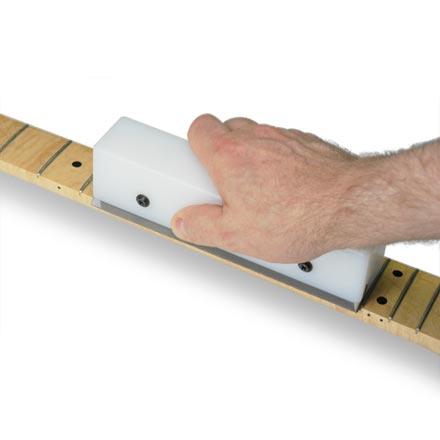
Allowing a solid day for the fret slot glue to dry, the frets are hit with a Fingerboard Leveler and the ends get a bevel. Now I start with the crowning. After a fret polishing, the neck is ready to install back on the body. Something not related to the fingerboard, but the neck was presented to me with the strings not quite in the center. This is a bit of a pet peeve. Even more so on something that should be taken as a boutique-level instrument. While the neck was off, the first thing was to drill the screw holes and plug them with hardwood dowels. Thankfully, there is enough wiggle room in the pocket to get the string put dead center of the neck.
A fun side effect of the taller frets is that a bit of a shim is in place under the locking nut. Seems that I was expecting to have to take more off the frets than became necessary. Not a concern, in the scheme of things.
Once back in place, the guitar needs far less setup that you would assume from the degree of work done. Now complete, a case queen has become something I’m happy to consider playing again. Putting a little sweat equity into a train wreck goes a long way to make something more appealing. And those stainless steel frets are bright and shiny, waiting to provide a long life with far less maintenance.
Jescar Enterprises Website | Facebook | Twitter | Instagram
Stewart MacDonald Website | Facebook | YouTube